
The Path to Automated TLS: A Three-Part Guide#
The path to achieving fully automated, production-grade TLS on a bare-metal Kubernetes homelab is a rewarding but detailed journey. To do it justice, I’ve structured this guide as a three-part series… a continuous story where each post builds on the last. Frankly, cramming everything into a single, monolithic article would be an overwhelming read.
Instead, we’ll walk through it chapter by chapter:
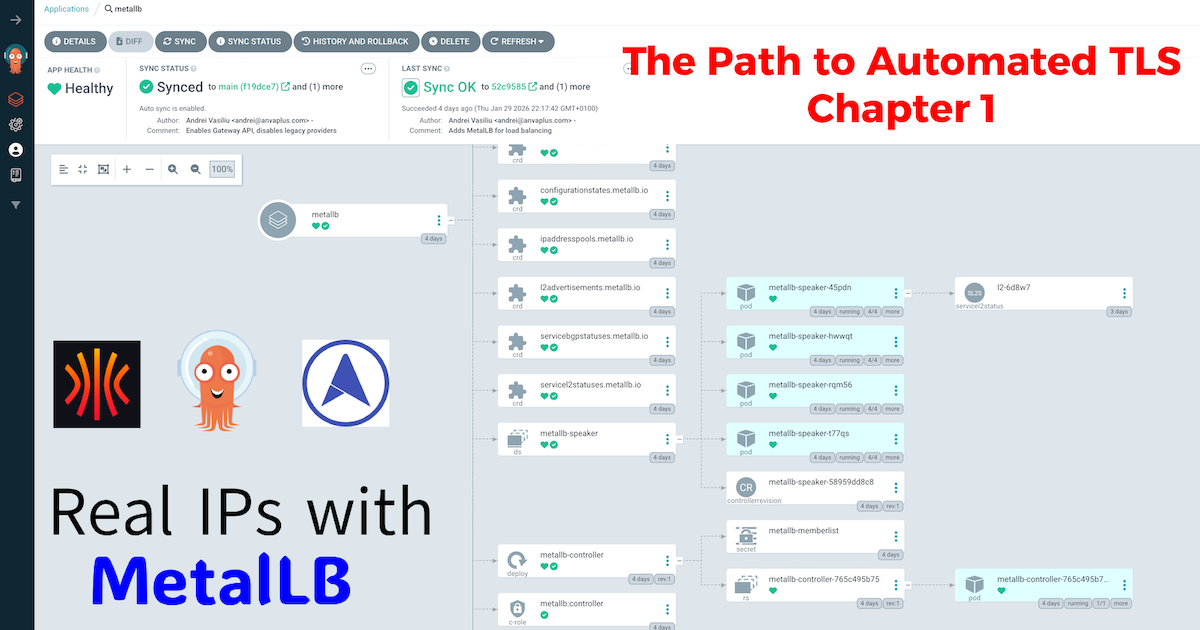
- Chapter 1 (This Post): Bridging the Gap with MetalLB. We’ll solve the first major hurdle of bare-metal Kubernetes: getting a real, reliable IP address for our services.
- Chapter 2: The Gateway to the Cluster. With an IP in hand, we’ll deploy Traefik, Gateway API and set up an internal DNS backbone.
- Chapter 3: Locking it Down. We’ll use a public DNS zone to satisfy Let’s Encrypt’s validation, while our internal Technitium DNS server handles all traffic, allowing us to secure internal services with a publicly trusted certificate.
In my years architecting platform solutions in fintech, the cloud was our playground. Need an external endpoint for a service? A few lines of Terraform, and voilà… an AWS or GCP Load Balancer would appear, complete with a public IP address, ready to handle traffic. It was simple, reliable, and completely abstracted away the underlying network complexities.
But when building a production-grade homelab, we don’t have that luxury. We’re on bare metal. Deploying a Kubernetes service of type LoadBalancer results in a pending state indefinitely. Why? Because there’s no cloud provider to fulfill that request.
This is the first major hurdle in bridging the gap between enterprise cloud and a homelab environment. We need to provide our own network load balancer. This is “Chapter 1” of the series, where we lay the foundational network layer on our path to automated TLS.
Why MetalLB is the Enterprise Choice for Homelabs#
In the cloud, a Load Balancer is a managed service that automatically assigns an external IP and routes traffic to your Kubernetes services. On-premise, we need a tool that can do the same. While there are several options, MetalLB stands out for its simplicity and robustness, making it the de-facto standard for bare-metal clusters.
A Homelab Analogy for Cloud Load Balancing#
To understand MetalLB’s role, it’s best to draw a direct parallel to how a managed load balancer works in a cloud like GCP or AWS. They solve the same problem, just with different underlying tools.
| Feature / Analogy | Google Cloud Load Balancer | MetalLB in a Homelab |
|---|---|---|
| Core Function | Exposes a Service with a stable, external IP address. | Exposes a Service with a stable, internal IP address. |
| Activation Trigger | Creating a Service of type: LoadBalancer in Kubernetes. | Creating a Service of type: LoadBalancer in Kubernetes. |
| IP Address Source | Provisions an IP from Google Cloud’s massive address pools. | Assigns an IP from a user-defined private network range. |
| Network Mechanism | Integrates with Google’s proprietary Virtual Private Cloud (VPC) and SDN. | Uses standard, open protocols like Layer 2 (ARP) or BGP. |
| High Availability | Managed service with built-in redundancy across zones. | Achieved via the “speaker” protocol; multiple nodes can announce the IP, and if one fails, another takes over. |
From the perspective of Kubernetes, the result is identical: a Service requests an external IP, and one is provided. This makes MetalLB the perfect, production-minded stand-in for a cloud load balancer in a bare-metal environment.
GitOps Implementation: Deploying MetalLB with ArgoCD#
As with all components in my platform, MetalLB is deployed via ArgoCD. This approach ensures that my infrastructure is declarative, version-controlled, and reproducible. I’ve detailed the philosophy behind my multi-repo setup in a previous post, “The Four-Repo GitOps Structure for My Homelab Platform,” which I recommend reading to understand the full context of my GitOps architecture.
Directory Structure#
My GitOps repository has a nested structure to keep concerns separated. The MetalLB configuration resides under ingress.
.
├── base
│   ├── ingress
│   │   ├── metallb
│   │   │   ├── metallb.yaml
│   │   │   └── values.yaml
│   │   └── traefik
│   │       └── ...
├── environments
│   ├── dev
│   │   ├── ingress
│   │   │   ├── metallb
│   │   │   │   └── lb-config.yaml
└── ...
1. The Base Application Manifest#
The core of the GitOps deployment is the ArgoCD Application manifest. This one is a bit more advanced as it uses a multi-source pattern. One source points to the official Helm chart, and the other points to our own Git repository to fetch the values.yaml.
base/ingress/metallb/metallb.yaml:
apiVersion: argoproj.io/v1alpha1
kind: Application
metadata:
  name: metallb
  namespace: argocd
spec:
  destination:
    namespace: metallb-system
    server: https://kubernetes.default.svc
  project: argo-config
  sources:
    - repoURL: https://github.com/anvaplus/homelab-k8s-argo-config.git
      targetRevision: main
      ref: valuesRepo
    - repoURL: https://metallb.github.io/metallb
      chart: metallb
      targetRevision: 0.15.3
      helm:
        releaseName: metallb
        valueFiles:
          - $valuesRepo/base/ingress/metallb/values.yaml
  syncPolicy:
    automated:
      prune: true
      selfHeal: true
    syncOptions:
      - CreateNamespace=true
2. The Base Helm Values#
In keeping with enterprise GitOps practices, the values.yaml file is intentionally kept minimal. We rely on the Helm chart’s defaults for the base configuration. This ensures that our setup is predictable and easy to upgrade. All customizations are handled in environment-specific overlays.
base/ingress/metallb/values.yaml:
# This are the values chart defaults.
# All custom configurations are managed in environment-specific overlays.
3. Environment-Specific IP Address Pools#
The real configuration happens in the environments layer. Here, we use a Kustomize overlay to apply our IPAddressPool and L2Advertisement resources. This is where we define the actual IP addresses that MetalLB will manage.
This configuration is stored in environments/dev/ingress/metallb/custom-values/lb-config.yaml:
apiVersion: metallb.io/v1beta1
kind: IPAddressPool
metadata:
  name: default-pool
  namespace: metallb-system
spec:
  addresses:
  - 10.20.0.90-10.20.0.95 # A dedicated range for production services

---
apiVersion: metallb.io/v1beta1
kind: L2Advertisement
metadata:
  name: default-pool-advertisement
  namespace: metallb-system
spec:
  ipAddressPools:
  - default-pool
After deploying this with ArgoCD, any service of type LoadBalancer will automatically receive an IP from the 10.20.0.90 - 10.20.0.95 range.
4. Verification: Putting MetalLB to the Test#
With our configuration live, let’s verify it works as expected. The ultimate test is to create a Service of type LoadBalancer and see if MetalLB assigns it an IP from our pool.
We can deploy a simple NGINX server for this purpose. Here is the manifest:
apiVersion: apps/v1
kind: Deployment
metadata:
  name: nginx-test-deployment
  namespace: default
spec:
  replicas: 1
  selector:
    matchLabels:
      app: nginx
  template:
    metadata:
      labels:
        app: nginx
    spec:
      containers:
      - image: nginx
        name: nginx
---
apiVersion: v1
kind: Service
metadata:
  name: nginx-test-service
  namespace: default
spec:
  selector:
    app: nginx
  ports:
    - protocol: TCP
      port: 80
      targetPort: 80
  type: LoadBalancer
Once you apply this manifest (either manually with kubectl apply -f or via GitOps), Kubernetes will request a load balancer. MetalLB will see this request and assign the first available IP from our default-pool.
A quick check with kubectl confirms our success. Notice the EXTERNAL-IP field is now populated with 10.20.0.90:
❯ kubectl get services -n default
NAME                 TYPE           CLUSTER-IP      EXTERNAL-IP   PORT(S)        AGE
kubernetes           ClusterIP      10.96.0.1       <none>        443/TCP        19d
nginx-test-service   LoadBalancer   10.111.75.192   10.20.0.90    80:32251/TCP   2m22s
Success! Our bare-metal cluster now behaves like a cloud environment, assigning a real, routable IP address to our services.
Conclusion: The First Pillar is in Place#
We’ve successfully replaced a core piece of cloud infrastructure with a robust, self-hosted solution. MetalLB provides the fundamental building block: a stable IP address for our services. We’ve laid the concrete, and our homelab is one step closer to mirroring the capabilities of an enterprise cloud environment.
In Chapter 2, we’ll build on this foundation. With a stable IP address, we now need an intelligent entry point to manage and route traffic to our applications. We’ll install Traefik Proxy using the Gateway API and set up Technitium DNS to create a powerful internal DNS backbone for our cluster.
Stay tuned! Andrei