In my previous posts, I walked through installing Talos Omni and then manually provisioning a Talos Kubernetes cluster on Proxmox. Both were essential learning experiences. Getting Talos Omni running was a huge win, and understanding the manual provisioning process… from downloading the ISO, creating VMs, configuring static IPs in the console, and patching nodes… built a strong foundation. But the real game-changer wasn’t just running Kubernetes… it was discovering how quickly I could create it.
In the world of platform engineering, our goal is always to automate everything. But before we can appreciate the elegance of a fully automated workflow, it’s incredibly valuable to walk through the manual process at least once. It builds a deep understanding of what’s happening under the hood.
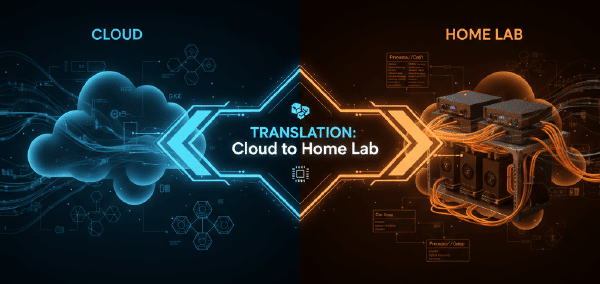
This is Part 2. If you need the cloud-to-homelab translation and requirement framing, read Part 1: From Cloud Sizing to Requirements first.
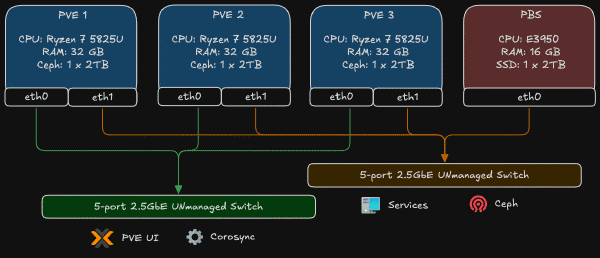
When you architect a Kubernetes cluster, you don’t think about heat dissipation or power consumption. You think in abstractions: N2 instances, vCPUs, memory tiers. Click, deploy, bill. The infrastructure vanishes behind APIs and Terraform declarations. But the moment you decide to build that same cluster in your homelab, those abstractions collapse into very real decisions: which CPU, how much RAM, what kind of storage, and critically, how much will this cost me in electricity every month?